Self-hosting paperless-ngx with PostgreSQL on an Ubuntu Server
 Jonas Scholz
Looking for a self-hosted, paperless document management solution that's lightweight and easy to maintain? paperless-ngx paired with PostgreSQL on an Ubuntu Linux server makes it simple, inexpensive, and secure!
This step-by-step guide shows exactly how you can deploy your own paperless-ngx instance, complete with automatic HTTPS provided by Caddy.
Before you continue, you'll need:
- An Ubuntu Linux server accessible via SSH (recommended: Hetzner Cloud, or any server with public IP and SSH login).
- Basic knowledge of SSH command-line usage.
Step 1: Update Your Ubuntu Server
First, ensure your Ubuntu server is secure and updated:
sudo apt-get update
sudo apt-get upgrade -y
Your system is now up-to-date and ready for setup.
Step 2: Configure and Secure UFW Firewall
Let's secure your server by configuring the Ubuntu firewall (UFW). We'll allow only ports for HTTP (80), HTTPS (443), and SSH (22):
sudo apt install ufw -y
sudo ufw allow ssh
sudo ufw allow http
sudo ufw allow https
sudo ufw enable
Check firewall status:
sudo ufw status verbose
Docker can bypass UFW rules, so consider additional protections detailed in this StackOverflow answer.
Step 3: Install Docker Engine and Docker Compose
Docker will manage your containers. To install Docker and Docker Compose, execute these commands:
Install dependencies & Docker GPG key:
sudo apt-get update
sudo apt-get install ca-certificates curl gnupg -y
sudo install -m 0755 -d /etc/apt/keyrings

curl -fsSL https://download.docker.com/linux/ubuntu/gpg \
| sudo gpg --dearmor -o /etc/apt/keyrings/docker.gpg

sudo chmod a+r /etc/apt/keyrings/docker.gpg
Add Docker official repo:
echo \
  "deb [arch=$(dpkg --print-architecture) \
signed-by=/etc/apt/keyrings/docker.gpg] \
https://download.docker.com/linux/ubuntu \
$(. /etc/os-release && echo $VERSION_CODENAME) stable" \
| sudo tee /etc/apt/sources.list.d/docker.list > /dev/null

sudo apt-get update
Install Docker and Docker Compose plugin:
sudo apt-get install docker-ce docker-ce-cli containerd.io docker-buildx-plugin docker-compose-plugin -y
Test Docker installation:
sudo docker run hello-world
If successful, move on to Caddy.
Step 4: Installing Caddy Web Server for Automatic HTTPS
Caddy automates HTTPS certificates—perfect for securing your paperless documents.
Run the following to install Caddy:
sudo apt install -y debian-keyring debian-archive-keyring apt-transport-https curl

curl -1sLf 'https://dl.cloudsmith.io/public/caddy/stable/gpg.key' \
| sudo gpg --dearmor -o /usr/share/keyrings/caddy-stable-archive-keyring.gpg

curl -1sLf 'https://dl.cloudsmith.io/public/caddy/stable/debian.deb.txt' \
| sudo tee /etc/apt/sources.list.d/caddy-stable.list

sudo apt update
sudo apt install caddy -y
Now configure the reverse proxy in your Caddyfile:
sudo nano /etc/caddy/Caddyfile
Replace yourdomain.com with your domain:
yourdomain.com {
    reverse_proxy localhost:8000
}
If no domain yet, use port 80 temporarily:
:80 {
    reverse_proxy localhost:8000
}
Restart caddy to load the changes:
sudo systemctl restart caddy
Step 5: Running paperless-ngx with PostgreSQL Using Docker Compose
Create a working folder and Docker compose configuration for paperless-ngx:
mkdir ~/paperless-ngx
cd ~/paperless-ngx
Create a file named compose.yml with the following content:
services:
  broker:
    image: docker.io/library/redis:7
    restart: unless-stopped
    volumes:
      - redisdata:/data
  db:
    image: docker.io/library/postgres:16
    restart: unless-stopped
    volumes:
      - pgdata:/var/lib/postgresql/data
    environment:
      POSTGRES_DB: paperless
      POSTGRES_USER: paperless
      POSTGRES_PASSWORD: paperless
  webserver:
    image: ghcr.io/paperless-ngx/paperless-ngx:latest
    restart: unless-stopped
    depends_on:
      - db
      - broker
    ports:
      - "8000:8000"
    volumes:
      - data:/usr/src/paperless/data
      - media:/usr/src/paperless/media
      - ./export:/usr/src/paperless/export
      - ./consume:/usr/src/paperless/consume
    env_file: compose.env
    environment:
      PAPERLESS_ADMIN_USER: admin
      PAPERLESS_ADMIN_EMAIL: admin@example.com
      PAPERLESS_ADMIN_PASSWORD: adminpassword
      PAPERLESS_REDIS: redis://broker:6379
      PAPERLESS_URL: https://paperless.sliplane.io
      PAPERLESS_SECRET_KEY: your-secure-random-secret

volumes:
  data:
  media:
  redisdata:
  pgdata:
I'd suggest picking a secure secret key for your PAPERLESS_SECRET_KEY environment variable. You can generate a secure key using the following command:
openssl rand -base64 32
The same is true for your PAPERLESS_ADMIN_PASSWORD environment variable!
Save and launch paperless-ngx container:
sudo docker compose up -d
Paperless-ngx is now up and running on your server!
Step 6: Accessing Your Paperless Setup
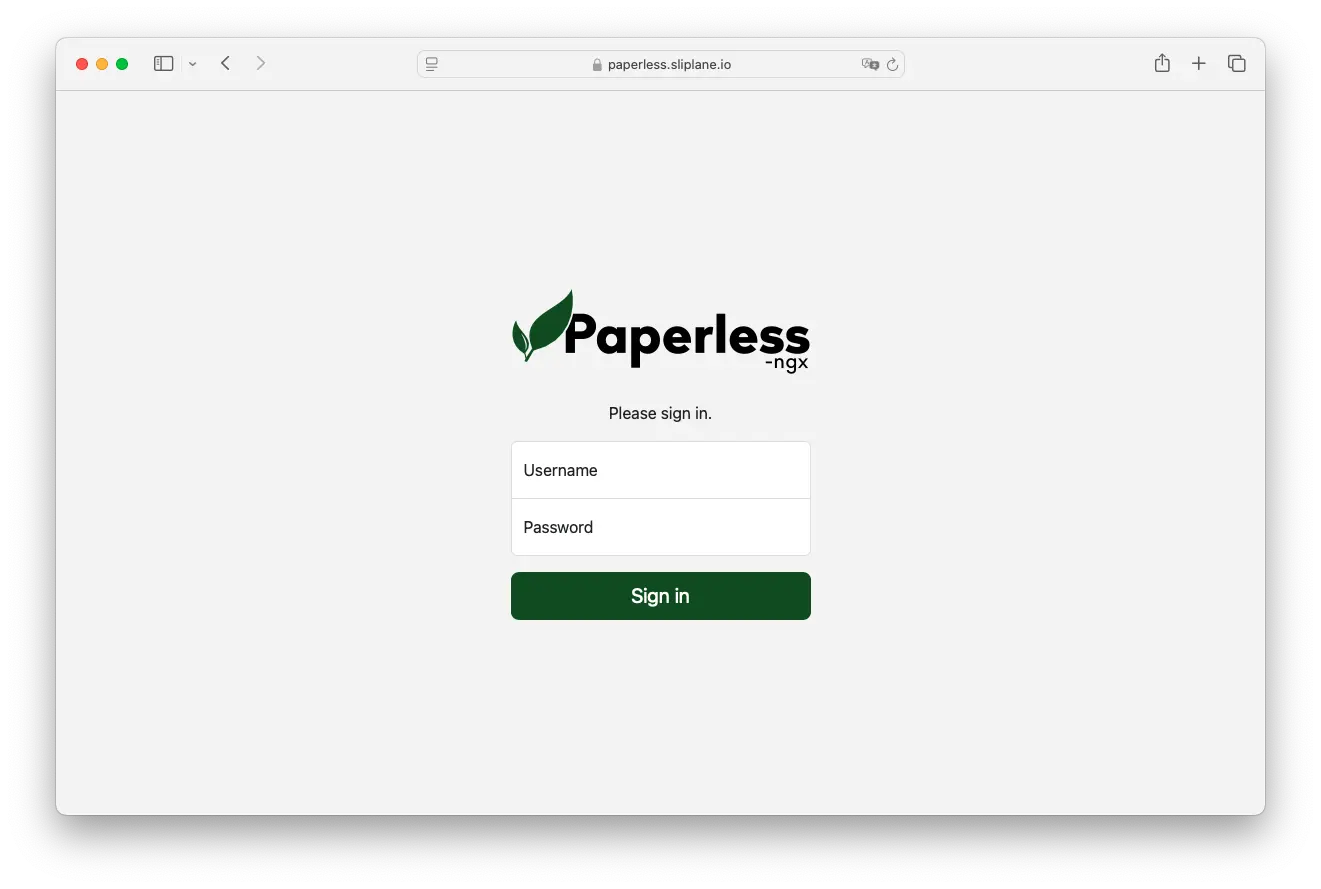
Open your browser and go to your web address https://yourdomain.com. You should see a login page for paperless-ngx ready for your admin user that you defined in the compose.yml file.
After logging in, you can start uploading and organizing your documents:

Security Recommendations
Maintain secure document storage and server integrity:
- Set up regular backup routines.
- Secure SSH with strong passwords or SSH keys.
- Regularly update client software and apply security patches.
- Consider tools like fail2ban for extra security.
Updating your paperless-ngx Installation
You can easily update your paperless-ngx installation any time by executing:
sudo docker compose pull
sudo docker compose up -d
Docker will fetch the newest images and automatically update your containers.
Cost Comparison with Managed Providers
Self-hosting typically reduces monthly cost compared to managed alternatives:
| Provider | vCPU | RAM | Disk | Monthly Cost |
|---|---|---|---|---|
| Render.com | 1 | 2 GB | 40 GB | ~$25–35 |
| Fly.io | 2 | 2 GB | 40 GB | ~$15–25 |
| Railway | 2 | 2 GB | 40 GB | ~$15–30 |
| Sliplane.io | 2 | 2 GB | 40 GB | ~€9.50 flat |
| Hetzner Cloud (self-hosted) | 2 | 2 GB | 40 GB | ~€5–10 / month |
Self-hosting gives you complete control, no hidden fees, and budget-friendly infrastructure.
Need a simpler solution? Check out our managed hosting at sliplane.io for hassle-free paperless-ngx deployment.