Self-hosting paperless-ngx with MariaDB on an Ubuntu Server
 Jonas Scholz
Looking to organize your documents digitally? Paperless-ngx is an open-source document management system that helps you efficiently manage scanned documents, bills, and PDFs. This guide shows you how to self-host paperless-ngx using MariaDB and Docker on Ubuntu Server, complete with automatic HTTPS security.
Why choose this setup?
- MariaDB offers robust database performance for large document collections
- Docker simplifies deployment and updates
- Ubuntu Server provides a stable, secure foundation
- Self-hosting gives you full control and cost savings
Why Self-Host Paperless-ngx?
Self-hosting paperless-ngx offers several advantages:
- Complete control over your data
- Better privacy and security
- Significant cost savings
- Customizable setup
- No vendor lock-in
Prerequisites
Before starting, ensure you have:
- An Ubuntu Server (we recommend Hetzner for cost-effective hosting)
- Basic command line knowledge
- SSH access to your server
- A domain name (recommended for HTTPS, but optional)
Step 1: Update Your Server
Run these commands to make sure your server is secure and updated before installation:
sudo apt-get update
sudo apt-get upgrade -y
Step 2: Configure the UFW Firewall
Set up Ubuntu's firewall (UFW) to allow only necessary ports:
sudo apt install ufw -y
sudo ufw allow ssh
sudo ufw allow http
sudo ufw allow https
sudo ufw enable
Check your firewall:
sudo ufw status verbose
Note: To secure Docker apps further, review additional firewall adjustments for Docker containers here. Preferably, use the firewall of your cloud provider.
Step 3: Install Docker and Docker Compose
Docker is required to run paperless-ngx efficiently.
Install prerequisites and Docker GPG key:
sudo apt-get update
sudo apt-get install ca-certificates curl gnupg -y
sudo install -m 0755 -d /etc/apt/keyrings
curl -fsSL https://download.docker.com/linux/ubuntu/gpg \
| sudo gpg --dearmor -o /etc/apt/keyrings/docker.gpg
sudo chmod a+r /etc/apt/keyrings/docker.gpg
Add Docker's repo to Ubuntu:
echo \
  "deb [arch=$(dpkg --print-architecture) \
signed-by=/etc/apt/keyrings/docker.gpg] \
https://download.docker.com/linux/ubuntu \
$(. /etc/os-release && echo $VERSION_CODENAME) stable" \
| sudo tee /etc/apt/sources.list.d/docker.list > /dev/null

sudo apt-get update
Install Docker Engine and Compose plugin:
sudo apt-get install docker-ce docker-ce-cli containerd.io \
docker-buildx-plugin docker-compose-plugin -y
Check Docker installation by running:
sudo docker run hello-world
If successful, Docker is ready!
Step 4: Install and Setup Caddy for Automatic HTTPS
To secure Paperless with HTTPS certificates automatically, install the Caddy server:
Install Caddy & dependencies:
sudo apt install -y debian-keyring debian-archive-keyring \
apt-transport-https curl

curl -1sLf 'https://dl.cloudsmith.io/public/caddy/stable/gpg.key' \
| sudo gpg --dearmor -o /usr/share/keyrings/caddy-stable-archive-keyring.gpg

curl -1sLf 'https://dl.cloudsmith.io/public/caddy/stable/debian.deb.txt' \
| sudo tee /etc/apt/sources.list.d/caddy-stable.list

sudo apt update
sudo apt install caddy -y
Edit configuration:
sudo nano /etc/caddy/Caddyfile
Use your domain, changing yourdomain.com accordingly:
yourdomain.com {
    reverse_proxy localhost:8000
}
Don't forget to also configure your DNS records to point to your server's IP address!
Without domain, use HTTP (temporary):
:80 {
    reverse_proxy localhost:8000
}
Restart Caddy with:
sudo systemctl restart caddy
Caddy automatically handles certificates from now on and reverse proxies to Paperless.
Step 5: Set Up Paperless-ngx with MariaDB and Docker Compose
Create a folder and enter it:
mkdir ~/paperless-ngx
cd ~/paperless-ngx
Create the Docker Compose file:
nano docker-compose.yml
Add this configuration (adjust with your secure passwords and your domain!):
services:
  broker:
    image: docker.io/library/redis:7
    restart: unless-stopped
    volumes:
      - redisdata:/data

  db:
    image: docker.io/library/mariadb:11
    restart: unless-stopped
    environment:
      MARIADB_DATABASE: paperless
      MARIADB_USER: paperless
      MARIADB_PASSWORD: paperlesspassword
      MARIADB_ROOT_PASSWORD: rootpassword
    volumes:
      - dbdata:/var/lib/mysql

  webserver:
    image: ghcr.io/paperless-ngx/paperless-ngx:latest
    restart: unless-stopped
    depends_on:
      - db
      - broker
    ports:
      - "8000:8000"
    volumes:
      - data:/usr/src/paperless/data
      - media:/usr/src/paperless/media
      - ./consume:/usr/src/paperless/consume
      - ./export:/usr/src/paperless/export
    environment:
      PAPERLESS_REDIS: redis://broker:6379
      PAPERLESS_DBENGINE: mariadb
      PAPERLESS_DBHOST: db
      PAPERLESS_DBNAME: paperless
      PAPERLESS_DBUSER: paperless
      PAPERLESS_DBPASS: paperlesspassword
      PAPERLESS_SECRET_KEY: your-secure-random-secret
      PAPERLESS_ADMIN_USER: youradmin
      PAPERLESS_ADMIN_PASSWORD: adminpassword
      PAPERLESS_ADMIN_EMAIL: admin@email.com
      PAPERLESS_URL: https://yourdomain.com

volumes:
  data:
  media:
  redisdata:
  dbdata:
Note: Generate secure random strings using:
openssl rand -base64 32
Launch containers by running:
sudo docker compose up -d
Your paperless-ngx system is now running and you can access it at https://yourdomain.com.
Step 6: Accessing paperless-ngx
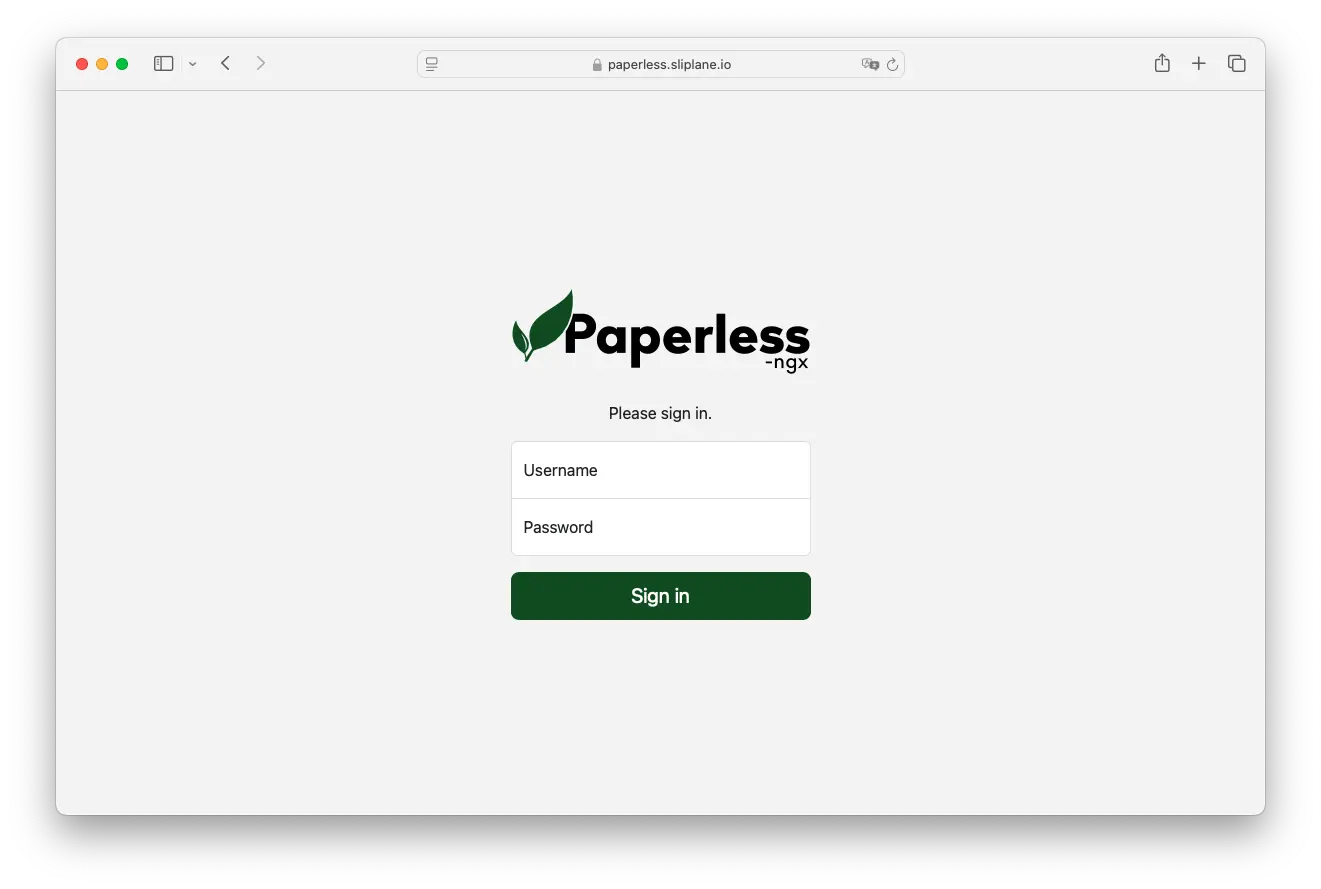
Open your browser at your address (https://yourdomain.com). Login using the admin credentials you defined.
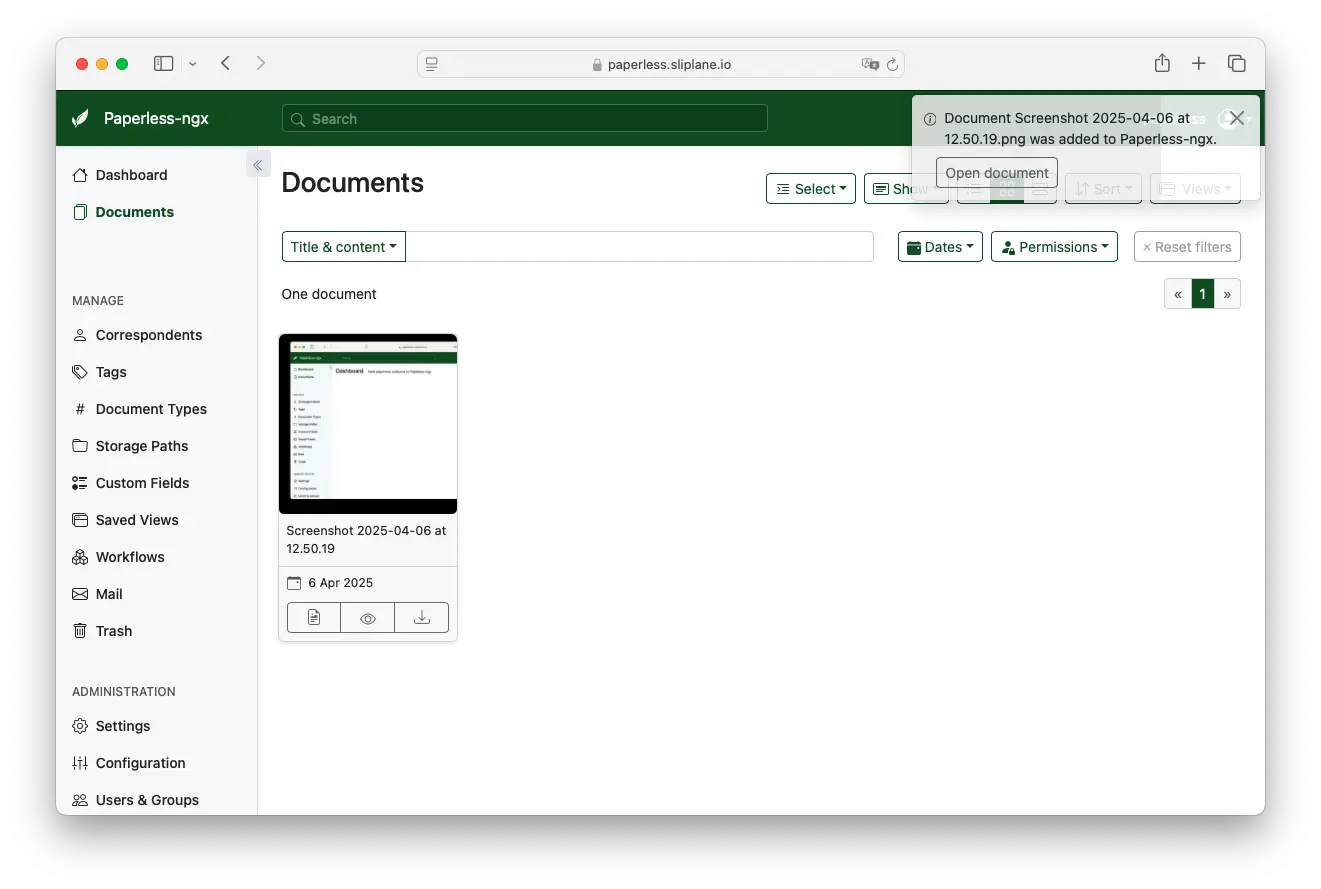
Upon successful login, you can upload, tag, and organize your documents easily.
Recommended Security Practices
Keep your documents and server safe by:
- Regular backups of your Docker volumes (especially database).
- Enabling SSH public/private key authentication.
- Using fail2ban for SSH protection.
- Regular software and Docker container updates.
Updating paperless-ngx
Update to the newest paperless-ngx release quickly by executing:
sudo docker compose pull
sudo docker compose up -d
Hosting Cost Comparison (Self-Hosted vs Managed)
Self-hosting typically results in lower running costs, giving greater flexibility over managed providers.
| Provider | vCPUs | RAM | Disk | Cost/month |
|---|---|---|---|---|
| Render.com | 1 | 2 GB | 40 GB | ~$25–35 |
| Fly.io | 2 | 2 GB | 40 GB | ~$15–25 |
| Railway | 2 | 2 GB | 40 GB | ~$15–30 |
| Sliplane.io | 2 | 2 GB | 40 GB | ~€9.50 flat |
| Hetzner Cloud (self-hosted) | 2 | 2 GB | 40 GB | ~€5–10/mo |
Although self-hosting offers cost savings, it requires more technical expertise and ongoing maintenance. For a hassle-free experience, consider managed hosting options like sliplane.io.
Next Steps
Now that your paperless-ngx instance is running:
- Set up automated backups
- Configure document scanning automation
- Create custom tags and document categories
- Install the mobile app for easy access
Need a simpler solution? Check out our managed hosting at sliplane.io for hassle-free paperless-ngx deployment.